Making a "Smart Home" actually smart (Part 1)

The school holidays started 1 month ago, and I wanted to do something cool and useful. Over the past few months, I have watched videos introducing a software that you can run locally at home to make your home smart and I thought to myself “Hey. I want that!”. The next moment, I found myself sitting right in front of the computer with a Raspberry Pi in my hand. Then, I made it my goal to make my home as smart as possible this holiday season. I will share with you my journey and how you can do it too in this blog post!
The installation method for Home Assistant comes in two methods:
Number 1: As an operating system
You can easily install Home Assistant on your computer or raspberry pi by flashing the image onto the the device’s boot disk. For me, I went with the Raspberry Pi. If you are using the Raspberry Pi 3/4/5, all you have to do is download the Raspberry Pi Imager here, select Home Assistant and write the image onto your Raspberry Pi’s SD card
Number 2: As a docker container
Some people may not want to run Home Assistant as the root of your computer. Therefore, a Docker container may be your preferred option. You can easily install it by using this tutorial. How a Docker container works is basically it creates a virtual environment for Home Assistant to run, so you do not need to run Home Assistant as an operating system and can use your operating system for other things as well.
Next, once you set up, the process is really simple. Go to http://homeassistant.local:8123/ in your browser and create your account. Go to Settings -> Devices & Services.
What I really like about Home Assistant is that it discovers your local smart device automatically for you. For example:
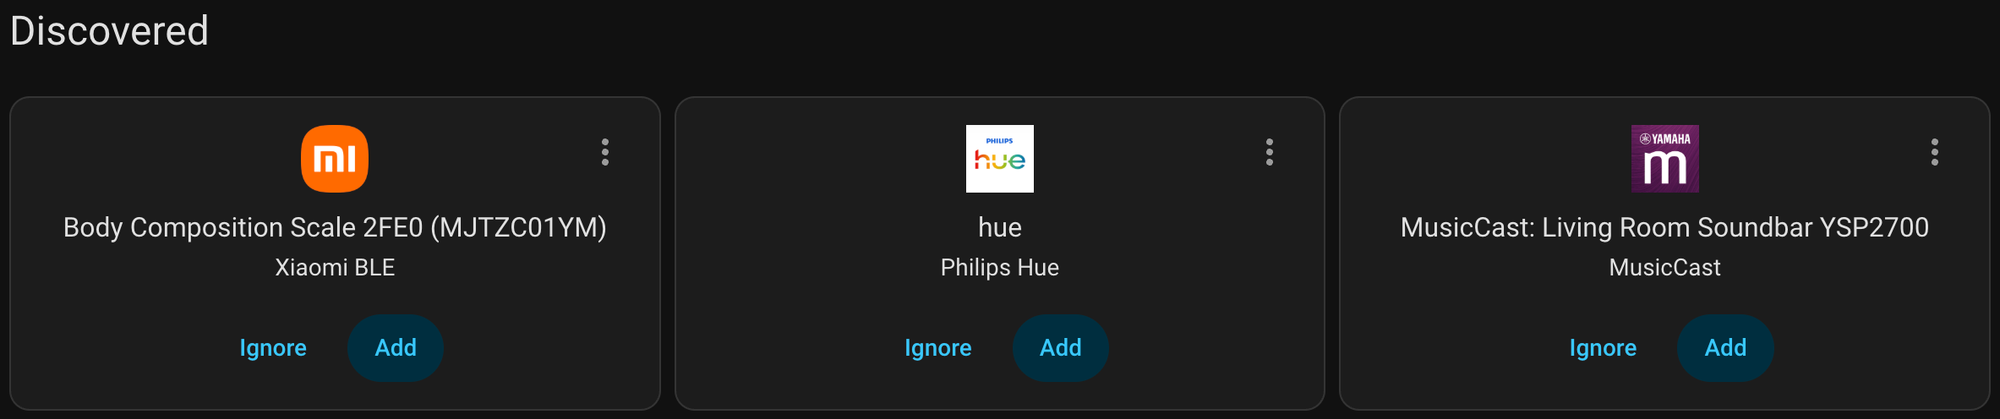
My Home Assistant discovered my Hue Lights at home , so all I had to do was tap on Add and all my lights at home were added to Home Assistant.
From there, I can easily control my lights to be on and off, colour temperature, etc.
Now, you may think, isn't this just a normal Smart Home? You wirelessly turn on the lights and adjust the colours. The end.
NO!!! You are wrong!!
In Home Assistant, there is also a companion app. When you sign into Home Assistant on the companion app, you can share your location with your local Home Assistant instance at home and you can set up automations, such as When no one is at home, turn off the lights, or maybe When no one is at home and someone arrives at home after sunset, turn on the lights. This is not the limit; you can add features such as controlling which lights turn on when a specific person returns home. For me, I have set the automation so that if no one is at home, the lights will automatically turn off. I’m working on more cool automations which I will share in future blog posts
How smart can this get?
Very smart, too smart in fact. Home Assistant is like the central hub of all your hubs. I think many people have experienced having multiple apps for their smart home, such as the Roborock App for the Robot Vacuum, Xiaomi Home for CCTV cameras, Philips Hue for lights, and Google Home for a smart clock, as well as Apple Home for HomePods (speakers). This is really messy.
But Home Assistant solves all of that.
Home Assistant can easily connect to your various hubs and devices via Wi-Fi, Bluetooth, Zigbee (if you have a connected Zigbee dongle), and Thread (Additional hardware required).
Additionally, if your devices do not support Matter and you want to add it to HomeKit or other Matter-Enabled smart homes, Home Assistant can connect to your device, create a Matter Server and make your devices Matter-enabled. How is this not cool?
This is how I connected all my various ecosystems into one. If I want to use Voice Control, I can easily expose all my devices to HomeKit and control them via Siri on my HomePod.
I highly recommend trying Home Assistant out, as there are no limits to what you can do. You can even code out programs if what you want does not exist.
This is just part 1 of my smart home journey so do stay tuned and subscribe to my mailing list if you are interested.
Member discussion