A Macropad

I always wanted to create a Macropad, but I always thought that it would be very expensive, hard and impossible to create at my age with no experience.
But... I got inspired by some designs and people from Hack Club located all over the world. They created a Macropad all from scratch. Thus, I started on my journey to create a macropad.
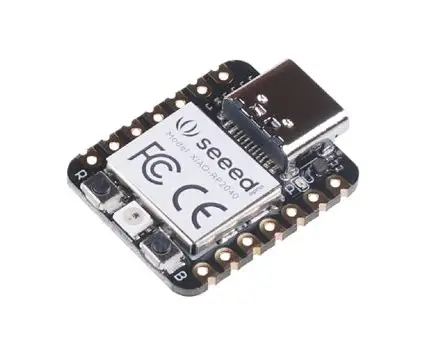
First, I download required footprints and symbols from GitHub, such as the MX Hotswap PTH, which is a footprint for Hotswap sockets. I downloaded this because I wanted to make swapping keys on my keyboard easy and quick. After that, I searched around for compact chips to be the microcontroller (brain) of the macropad. I decided to use the Seeed Xiao RP2040, which was compact, affordable and powerful all at the same time
I added the symbols in the schematic and then converted it into a PCB which I routed all the paths or some may say, PCB in-board wires ( I just made that up).
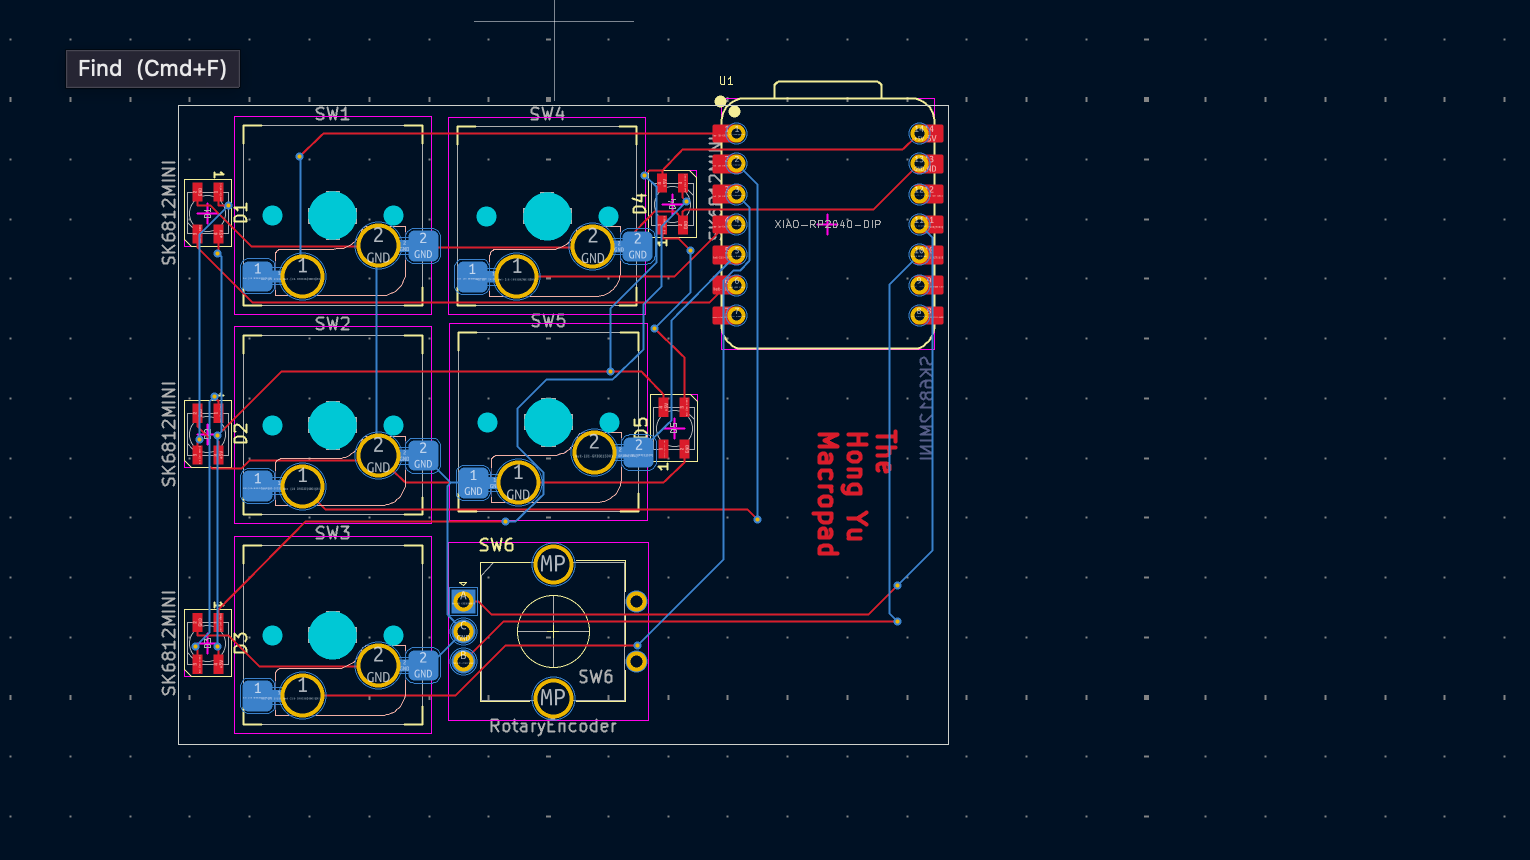
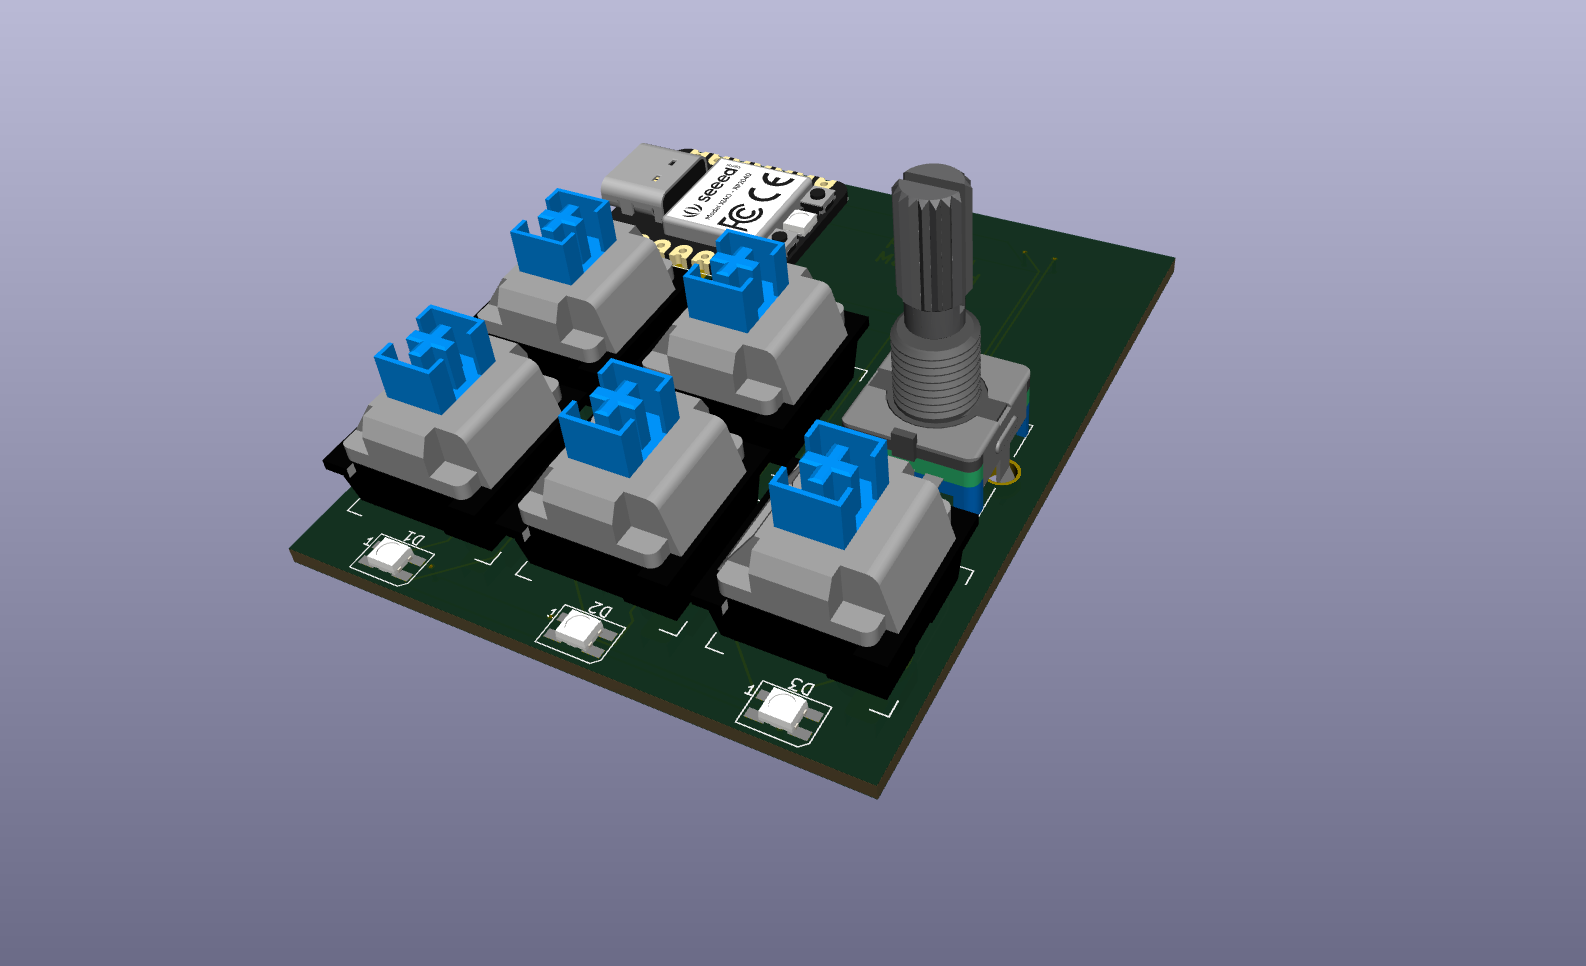
And I think it turned out pretty great. 5 LEDs, 5 Switches, 1 Rotary Encoder and one Seeed Xiao, I think I could have placed the microcontroller at a better place because this gives a lot of empty space. I then added all the 3D models and this is the final result:
I am gonna wait for all the parts to come and I will publish another post. Stay Tuned!
Member discussion